Monday, November 8, 2010
Friday, October 29, 2010
Thanks
We need to extend a special thanks for all our support. Thank you to Antoinette for educational support. Thank you to Marilyn for participation and administrative support. Thank you to Will for media support. Thank you to Andrea for sharing your story. Thank you to 4 Anderson N for floor with the most participation and enthusiasm. Thank you to Kristen for catering support. Thank you to Barbara, Lara, and Michael for logistical support.


What Did We Learn?
 |
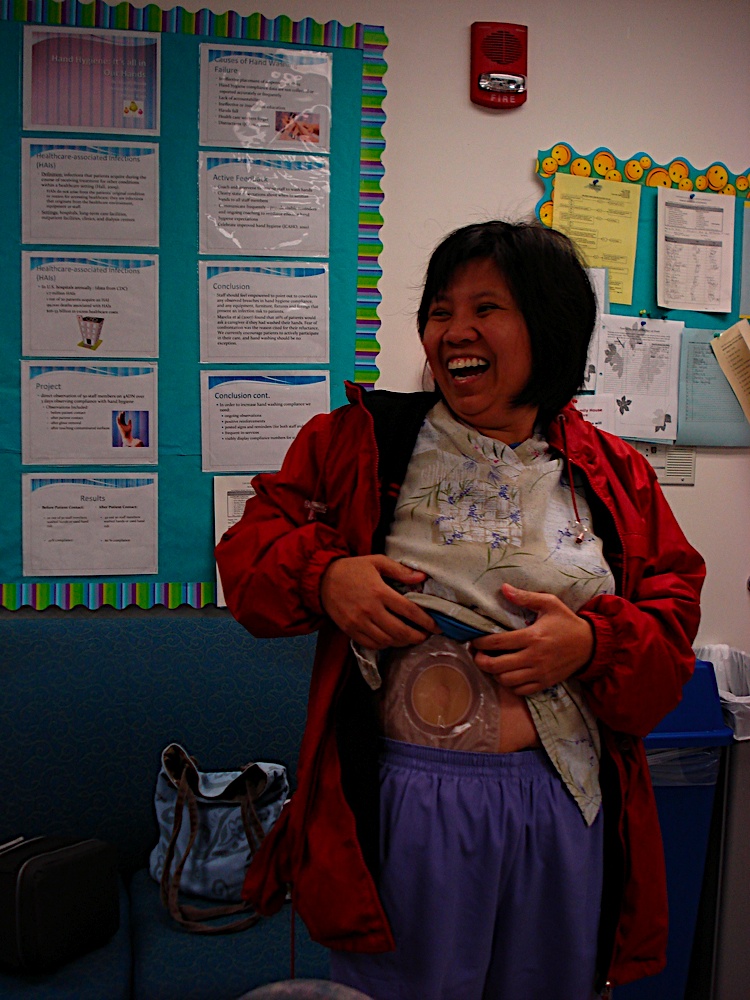
| Skin tear after "leech" dream. |
"The pouch crinkles."
"It's hot."
"I had a dream about leeches attacking me, and I ripped it off in my sleep."
"It itches."
"I barely noticed it."
"I cried when applying it."
"I worried about leaking applesauce."
"I couldn't sleep well."
"I can relate to my patients' trials and tribulations better."
Most Adventurous Pics
We had an award for the most adventurous picture with your pouch. Here's the top 3 pictures.
 |
| Pouch belly dancing. |
 |
| Pouch wind tunnel. |
 |
| Pouch rodeo. |
Thursday, October 28, 2010
More Pics
Here's some more pics from our week. We want our ostomates to know that life doesn't stop after getting an ostomy.
 |
| Tree pouch |
 |
| Golden Gate pouch. |
 |
| Pouch cleaning. |
 |
| Pouch gardening. |
 |
| Pouch boxing. |
 |
| Pouch perambulating. |
 |
| Pouch soccer. |
 |
| Pouch concert. |
 |
| Pouch cooking. |
 |
| Pouch ladies. |
 |
| Pouch drying. |
 |
| Pouch running. |
 |
| Pouch camping. |
 |
| Pouch with Halloween decorations. |
 |
| Pouch jogging. |
 |
| Pouches in the treehouse. |
 |
| Greatest pouch smile. |
 |
| Pouch surgeons. |
 |
| Pouch pose. |
Banquet
We had a great turnout for our banquet. While eating pizza, we reviewed ostomy technique. We heard from a star ostomate who had everyone crying. We shared what we learned during the week. We finished with a slideshow. What a great evening!
 |
| This way to the banquet. |
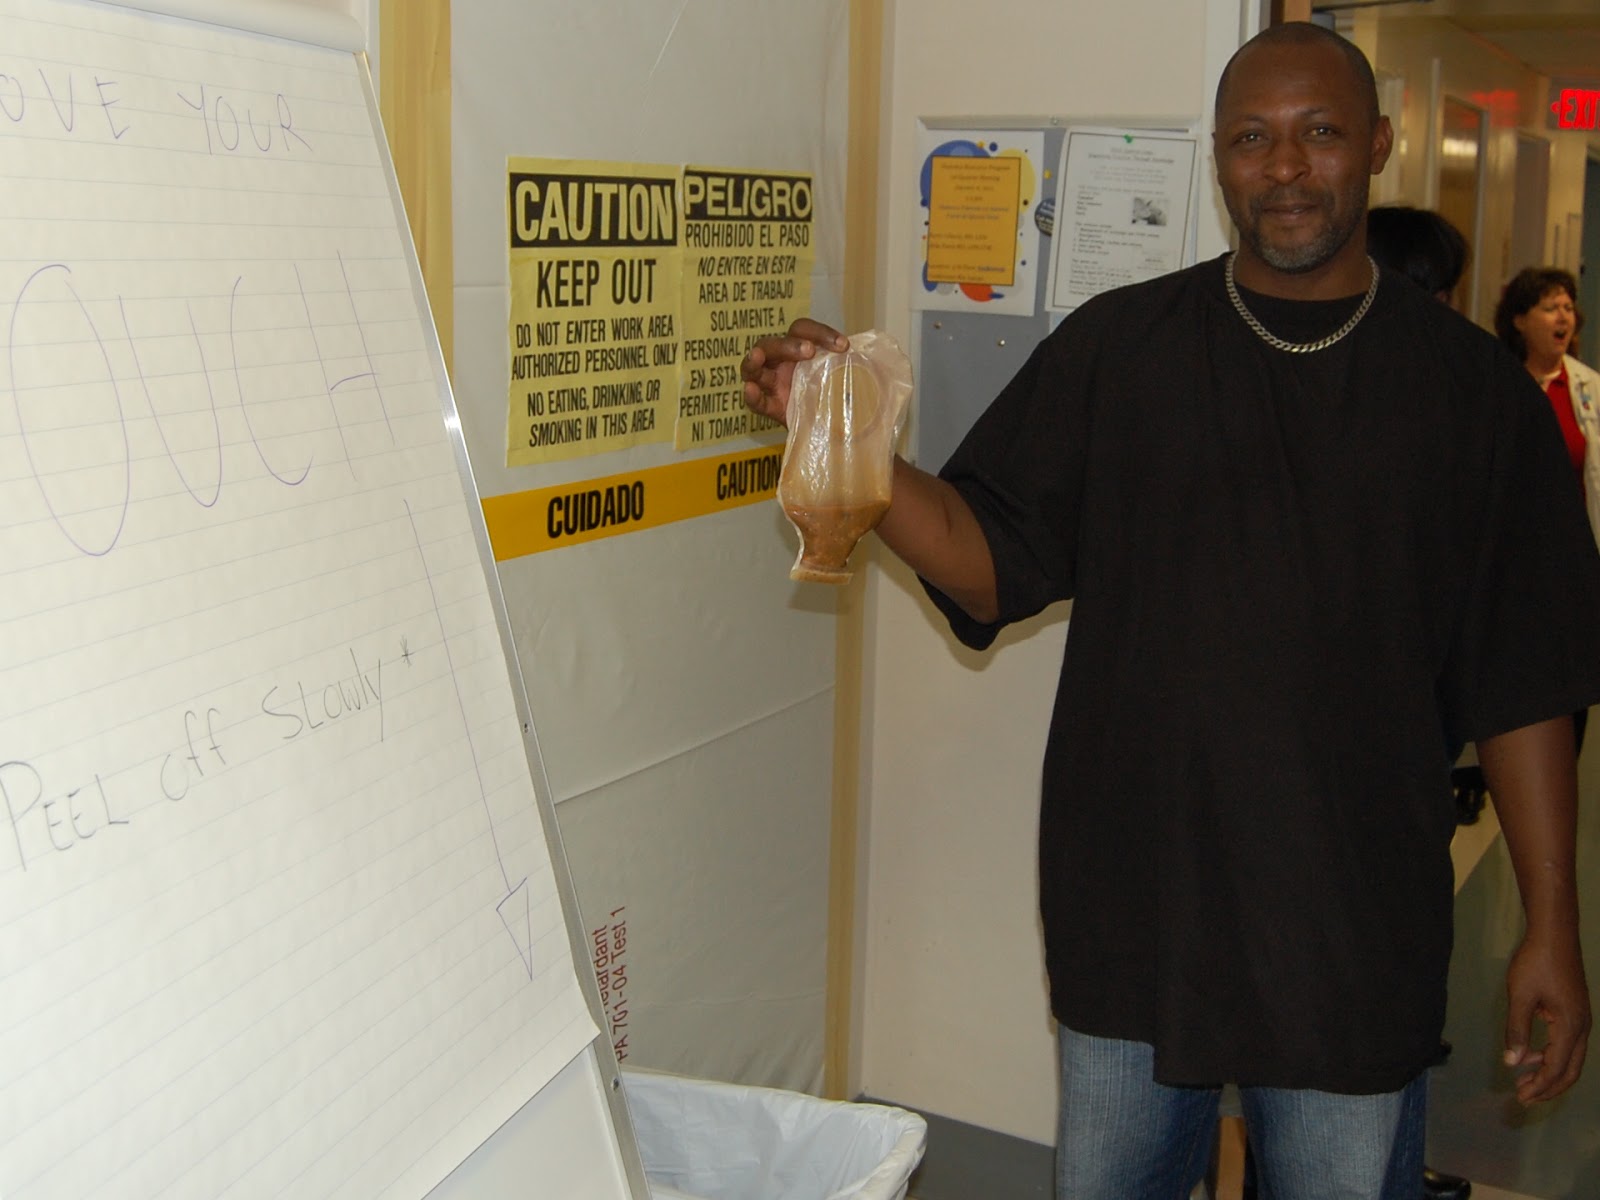 |
| Pouch removal station. Howard with his vegetable soup. |
 |
| Our pouches. |
 |
| Andrea interviewing for the project. |
 |
| 6BT RNs. |
 |
| Pizza & salad. |
 |
| We'll need a bigger room next year. |
What Do I Do With the Pouch?

- Apply/wear pouch
- Fill pouch with applesauce
- Practice emptying at the end of the day
- Participate in the day-to-day adventures
- Take pictures for the blog
- Attend the banquet
How Do I Apply a Pouch?

We wore pouches for 3 days. How did we apply our pouches?
1. Sit in front of a mirror.
2. Identify the flattest part of the abdomen.
- Without a flat pouching surface, the pouch won’t adhere well.
- For this reason, always remember to consult your WOCN to mark patients before surgery.
4. Clean the pouching surface with a soft cloth and water only.
- Don’t cleanse with soaps or wipes, which have moisturizers and will prevent optimal adherence of the pouch.
- An ostomate will usually measure and cut the opening as small as possible without touching the stoma.
6. Remove the backing paper from the wafer adhesive.
7. Apply pouch to abdomen.
- Make sure that you position the tail straight down.
Ostomy Characteristics

Most of us haven't seen our intestines. It's a part of our body. It's just behind the scenes. What should an ostomy look like? It's similar to the tissue on the inside of the cheek - red and moist. It also doesn't have any nerves for touch or pain. Now you know.
What's an Ostomy?

Ostomy's a Greek word for opening. It's a surgically-created opening in abdomen and the intestine. The surgeon brings the intestine through the abdominal opening and sews it down to skin. These diversions can also be created for urine.
Subscribe to:
Posts (Atom)
